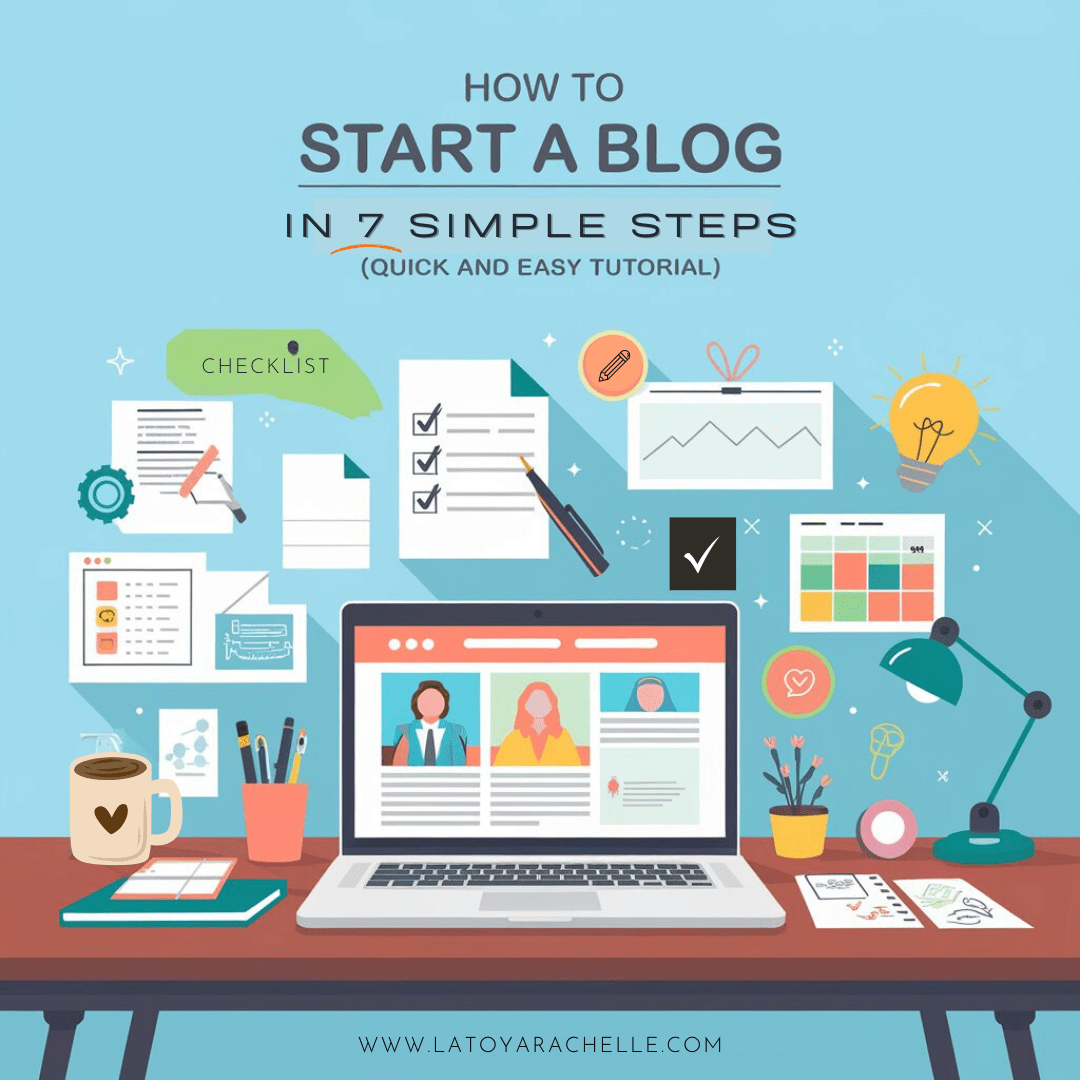
How to Start a Blog in 7 Simple Steps (Quick and Easy Tutorial)
So, you’re thinking of starting a blog? I’m so glad you’re here!
Blogging has been one of the most fulfilling adventures I’ve ever embarked on, and it has opened up so many opportunities for me. (And yes, you can make a lot of money blogging. It’s even become my full-time income! 🤑) And if you want it, I want the same for you.
If you’ve been considering starting your own blog but feel unsure about the first steps, the good news is that you don’t need a ton of technical expertise to get started. With the right tools arpnd a little guidance, you can set up a blog pretty quickly and easily.
I’m going to walk you through each step and share the best practices that helped me get up and running to now being a successful blogger.
You’ll learn everything you need: from picking a blog name, setting up web hosting, designing a beautiful blog theme, to launching your very first blog posts in this step-by-step guide. I’ll even recommend some tools/resources and a Pinterest course to start driving traffic to your blog right away.
Let’s get started!
This post contains affiliate links, which means I may earn a small commission and no cost to you.
Step 1: Decide on Your Blog Niche
Before you start writing a single word on your blog, it’s important to define your niche – the main topic or focus of your blog. This will help you target a specific audience and attract and engage readers who are interested in that particular subject.
Choosing a niche also gives your blog a clear direction, helps your content rank better in search engines, and makes monetization easier down the line. Plus, having a focused blog niche makes it simpler to come up with consistent blog content ideas!
Think about what interests you, what you’re passionate about, and what knowledge or expertise you can share with others.
If you’re not sure where to start, here are some prompts to get your creative wheels turning:
Your niche doesn’t have to be narrow or ultra-specific – it can still encompass different sub-topics or areas of interest. Just make sure it’s something you’re passionate about and can consistently generate content for.
Step 2: Choose a Domain Name and Blogging Platform
Once you’ve decided on your blog niche, it’s time to choose a good domain name – this is the “address” of your blog that readers will type in to find you. Ideally, your domain name should be unique, memorable, and align with your niche so that it makes a strong first impression.
Here are a few tips for picking the perfect domain name:
Once you have a name in mind, the next step is choosing your blogging platform. There are several popular platforms, but they’re not all created equal for long-term blogging:
💡Quick tip: Be sure to choose WordPress.org (self-hosted) over WordPress.com, as it provides full control, flexibility, and monetization options. Don’t worry, I’ll walk you through how to set this up in Step 3.
- WordPress (Self-Hosted): This is by far the best option for those serious about blogging. A self-hosted WordPress blog offers unmatched flexibility, customization, and opportunities for monetization. You can fully control your blog’s design, add WordPress plugins, and even set up an online store if you want to expand down the road. (Spoiler alert: In just a few, I’m going to show you how to get set up on WordPress in a few simple steps!)
- Other Options: You may come across other paid and free blogging platforms like Blogger, Squarespace, and Wix. While these platforms can be easy to use, they’re limited in terms of customization, flexibility, and potential for income. They’re often better suited for personal blogs or small projects, but if you’re building a personal blog or other site with long-term potential, WordPress is the way to go.
Simply put, choosing a self-hosted WordPress blog will give you the best foundation to grow, monetize, and customize your blog to reflect your unique brand.

Step 3: Set Up Hosting with Bluehost
Now that you have your blog name and platform chosen, it’s time to set up hosting for your blog. To make your blog accessible online, you need a hosting provider. Think of hosting as the “home” for your blog – it’s where all your content, images, and files are stored, so readers can visit your site anytime. Hosting plays a huge role in how your blog performs, so choosing a reliable provider is important.
For new bloggers, I recommend Bluehost because it’s both affordable and beginner-friendly. Starting with a cost-effective option like Bluehost is smart, especially if you’re just getting your feet wet with blogging and aren’t ready for a bigger commitment. They are one of the most popular hosting company options for WordPress blogs, and offer affordable plans with great customer support and a user-friendly interface. Plus, they also offer a free domain name for the first year, which makes it a great deal for those on a budget.
And right now, you can sign up through my link to get 75% off your first year of hosting – bringing it down to just $3.79 a month for the Basic plan! 🤩
You can always upgrade to a premium hosting provider later as your blog grows, but for now, Bluehost is a fantastic place to start.
Getting Set Up on Bluehost: Step-by-Step Guide
I’ve outlined the steps below to get you started with Bluehost. Follow along, and you’ll be up and running in no time!

- Choose Your Plan: Head over to the Bluehost website and click on “Get Started Now.” Bluehost offers several plans, but the Basic plan is usually enough for new bloggers – it has everything you need without any extra cost.

- Register Your Domain: After choosing your plan, you’ll be prompted to register your domain. If you’ve already chosen your blog’s name, you can register it here. (Bluehost includes a free domain for the first year!) Just type in your desired domain name, and Bluehost will let you know if it’s available.

- Head to Checkout: You’ll see options to choose your term length. Usually the longer the term, the lower the monthly cost, but go with what works for your budget. You might also see offers for some add-ons here, but feel free to skip these if you’re just starting out.

- Complete Checkout & Create Your Account: Enter your personal information and payment details, then proceed to setting up your Bluehost account.

- Install WordPress: Bluehost makes installing WordPress a breeze with their easy-to-follow setup. Once you’re logged in to your newly created Bluehost account, you’ll be prompted to install WordPress. The great news is that Bluehost sets up your blog on WordPress.org (the self-hosted version), giving you tons of flexibility and endless customization options. Start the setup process and let Bluehost guide you through the options available. With just a few clicks, your blog will be live!
📝 Note – Bluehost may ask you to pick a theme for your blog during the setup process. You can select a theme you like now or just pick a one of the free WordPress themes shown to move forward – no pressure, as you can change it later in the customization stage and we’ll actually be discussing themes in the next step.
Once you’re all set up, you’ll be ready to start customizing your blog and publishing your first blog post!
Step 4: Choose a Theme and Design Your Blog
Once you’ve installed WordPress, it’s time to design your blog! Your blog’s theme is what gives it its overall look and feel, from colors and fonts to layout and navigation. And a well-designed theme can make a huge difference in how professional and inviting your blog appears to readers. Plus, having a clean, responsive design (meaning it looks great on any device) will help draw in and keep readers coming back for more.
Why I Recommend Kadence Themes
When it comes to choosing a theme, I only recommend and use Kadence themes. They’re known for being fast, lightweight, and user-friendly – all important qualities to ensure your blog loads quickly and runs smoothly. Kadence also has both premium and free theme options, so you can get started on any budget. However, keep in mind that the free Kadence themes may require some customization to achieve the look you want. If that sounds intimidating, or you’d rather skip the extra work, there’s an amazing solution!
Restored 316 Themes: Beautiful Kadence Child Themes
This is where theme designer Restored 316 comes in. The team there creates beautiful, pre-designed Kadence child themes specifically for bloggers who want a gorgeous design without the headache of complex customization. A “child theme” is simply a theme that works on top of Kadence to give you a customized design with all the flexibility and benefits of Kadence’s framework. And the best part? Restored 316 themes are crafted with feminine, stylish, and professional looks that are perfect for lifestyle, fashion, and personal blogs.

Why Choose Restored 316?
Restored 316 doesn’t just offer beautiful premium themes; they also have fantastic customer service and even offer an installation service for those who’d rather leave the setup to the experts. If you’re not feeling “technical” or you’d simply prefer a professional touch, the team at Restored 316 can even install your new theme for you and customize it to match your branding. Here’s a quick look at what their installation service includes:
Whether you DIY or use their services, Restored 316’s themes offer a seamless and beautiful design experience, helping you create a blog that’s as professional as it is personal. And once you’ve chosen and set up your theme, you’re ready to start adding your unique colors, fonts, and layout details to reflect your blog’s niche and personality!

Step 5: Add Essential Pages
Now that your blog design is taking shape, it’s time to add a few foundational pages. These pages not only help your readers connect with you but also ensure your blog meets essential legal requirements. Here’s a quick overview of the must-have pages every blog needs:
Must-Have Pages for Your Blog
Legal Templates for Bloggers
Creating these pages from scratch can feel overwhelming, especially with all the legal details involved. To make it easier, I recommend using these legal templates created specifically for bloggers. These templates cover everything you need to keep your blog compliant and were created by a lawyer turned full-time blogger who truly understands blogging. Not only will they save you time, they’ll also give you peace of mind that your blog is legally sound.
Once you have your essential pages set up, you’ll be ready to dive into creating content with confidence!

Related: Don’t Risk It! Legally Protect Your Blog With These Must-Have Legal Pages
Step 6: Create Your First Blog Post and Start Publishing
Congratulations!

You’ve set up your blog’s foundation, chosen a theme, and added the essential pages – you’re ready for the fun part: creating content. Publishing your first blog post is both exciting and a little intimidating, but remember, every successful blogger started with that very first post!
Getting Started with Your First Blog Post
If you’re not sure where to start, keep it simple. Introduce yourself, share why you started your blog, or dive right into a topic that excites you. Your readers are there to connect with you and the unique perspective you bring to your niche. If you need inspiration, I’ve created a free resource to help: 100 Blog Post Ideas to Help Kickstart Your Blogging Journey!

Just enter your email below, and it’ll be delivered straight to your inbox. It’s filled with lots of topic ideas across a variety of niches to spark your creativity!
Quick Tips for Search Engine Optimization (SEO)
To help readers find your blog through Google search results, it’s a good idea to keep a few simple SEO basics in mind. SEO (or Search Engine Optimization) is all about making sure your blog posts can be found by search engines so that they bring in traffic from Google and other sources. Here are a few beginner-friendly tips to start with:
Related: Is RankIQ Worth It? My Honest Review of This Popular SEO Tool
Step 7: Set Up Pinterest and Begin Driving Traffic
You’ve made it to the final step! Getting traffic to your blog is key to reaching a wider audience, and Pinterest is one of the best ways to do this – especially for new blogs. Unlike traditional social media, Pinterest acts more like a search engine, meaning that when you post content, it has a longer lifespan and can continue driving traffic for months, even years, after it’s posted. This makes Pinterest an incredibly valuable tool to grow your blog’s reach without relying solely on Google.
Why Pinterest Matters
Diversifying your traffic sources is a must for long-term growth. Relying solely on Google can be risky since algorithm changes can impact your site’s traffic overnight. Pinterest helps reduce that risk by giving you another valuable way to drive visitors to your site. And, once you start monetizing your blog, you likely find that Pinterest traffic often brings in higher ad RPMs too.
My Go-To Pinterest Course: Pinteresting Strategies 2025
If you’re looking to set up Pinterest effectively, Pinteresting Strategies 2025 is my top recommendation. This course is affordable, newbie-friendly, and filled with actionable steps to help you create a Pinterest business account, understand Pinterest’s unique algorithm, and develop a strategy that works. I’ve tried multiple Pinterest courses, and Pinteresting Strategies 2025 is by far my favorite – it’s packed with practical tips and works especially well if you’re on a budget.

With Pinterest set up and your blog posts optimized for search, you’ll be in a great spot to start attracting a steady stream of readers to your blog quicker than just relying on Google alone.
Final Thoughts: Launch Your Blog and Keep Going!
You’ve just taken some amazing steps toward starting your blog – and I hope you’re as excited as I am for what’s ahead! 🤗 Building a blog is a journey that unfolds over time, and every post you publish, every new skill you learn, brings you closer to your goals.
A heads up—blogging is not a get-quick-rich scheme. It requires consistency and growth. Some days will feel easier than others, but if you keep showing up and sharing your unique voice, you WILL see progress.
Embrace the learning process, have fun with it, and know that each small step you take adds up in a big way. I can’t wait to see where your blogging journey leads you! 👩🏻💻
Until next time,
xoxo

Keep Learning: More Blogging Tips
Ready to keep building your blogging skills? Check out these posts for more tips and advice to help you build a successful blog.


